Friday, April 25, 2014

Quick Share

Here are three new chibi charts I completed today.  The first is based on The World of David the Gnome

David and Lisa

The second is inspired by Little Nemo: Adventures in Slumberland

King Morpheus, Princess Camille, Nemo, Flip, and Professor Genius

and the third is based on Disney's Adventures of the Gummi Bears

Grammi, Zummi, Tummi, Cubbi, Sunni, and Gruffi

Hope you are having a great day and get to enjoy your weekend.

Happy stitching!

Wednesday, April 23, 2014

Loving Springtime

Hello there!  Hope you had a great Easter.  Luckily we had beautiful weather here and were able to spend just about all day outside. T was way excited since this was the first year we've had a yard that is perfect for egg hunting.  The neighbor boys spent a couple of hours with us hunting and re-hiding the plastic eggs and eating candy.  We even managed to keep track of all but one of the eggs.  It's probably still hidden somewhere in the ivy getting rained on now.


This is a thank you card T made for one of the neighbors who gave him a little surprise bundle.  He had painted that a few days before and it worked nicely.


Everything is in full bloom and I am lucky I have T to remind me to stop and smell the flowers, or, you know, just lay in the grass.


The only new stitchy things I have been working on lately are both still in progress, so I don't have any new finishes to show you yet.
don't mind my doodle
Christmas ornament for a dear friend
I also did some "spring cleaning"...in my thread stash anyway.  I finally bought another box, so I reorganized and put in the new threads too. The threads in the far right next to the needle tin are the ones I am currently using.


Have a great day and go enjoy your (probably) unpredictable spring weather.
Happy stitching!


Friday, April 11, 2014

The BEST Pancakes and Recent Finishes

Like most people, I think my grandmother's pancake recipe is the best!  They turn out perfect every time and they fill you up until dinner time.  So, I thought I would share her special recipe with you.

      yield: ~12 pancakes (this is a double batch)

  • 2 cups buttermilk (I didn't have so I made them with sour milk but I prefer buttermilk)
  • 2 eggs 
  • 1/4 cup canola oil
  • 1 1/2 cups quick rolled oats
  • 1 cup all purpose flour
  • 2 rounded tablespoons oat bran 
  • 2 teaspoons baking powder
  • 1 teaspoon baking soda
  • 1 teaspoon sugar
  • 1/2 teaspoon salt


Beat the buttermilk, eggs, and oil together until well mixed.


Add remaining ingredients to bowl in order listed.  Notice I spread the oats over the whole surface of the milk when I added them.  This gives them a chance to soften a little while you add the rest of the ingredients. 


This is what my grandmother meant by rounded tablespoonfuls.  I didn't have any oat bran on hand, so I used ground flax seed.


Mix batter with a fork until just combined.  I like using my electric griddle so I can make a few at a time.  I preheat to between 325 and 350 degrees and lightly spray with cooking spray before the first pancakes.  Use 1/3 to 1/2 cup of batter per pancake.


And there you have it!  These are great with syrup but my personal favorite is crushed fresh or frozen raspberries.  Yum!

Anyway, now that I have a plateful of comfort food, here are my finishes so far this month:


I sent my other grandmother a surprise package comprised of these ballet slippers and the cross stitch below.  She was telling me that she finally gave up her knitting and crochet work because her arthritis is so bad now she can't hold onto the needles and hooks. :(  And I was recalling all the ugly but well-loved slippers she always made us as kids and decided to make my first pair of slippers.


This was the other part of her surprise package.  I stitched this up for her on some of my hand-dyed fabric, from the last post, using this pattern but substituting for colors I had in my stash or like better.  I used three strands and worked over two threads, but that made it less neat looking.  She loves and collects frogs and it is a great addition for spring.


And I wanted a small, quick project, so I made a Space Invaders inspired name plate for Mister on light blue Aida with DMC 154.

That is all I have to show for now, but I have a few other patterns in progress including a crocheted Link hat for T.  So have a great day, and happy stitching!  


Tuesday, April 8, 2014

Dyeing Your Aida With Tea

    I was rummaging around in one of my stash drawer when I found a neglected piece of used-to-be-white Aida.  I picked it up at the Cancer Society Thrift Store a couple of years ago and realized when I unrolled it that it had some staining on the part that had been on the outside of the roll.  And there it stayed collecting dust.  
    
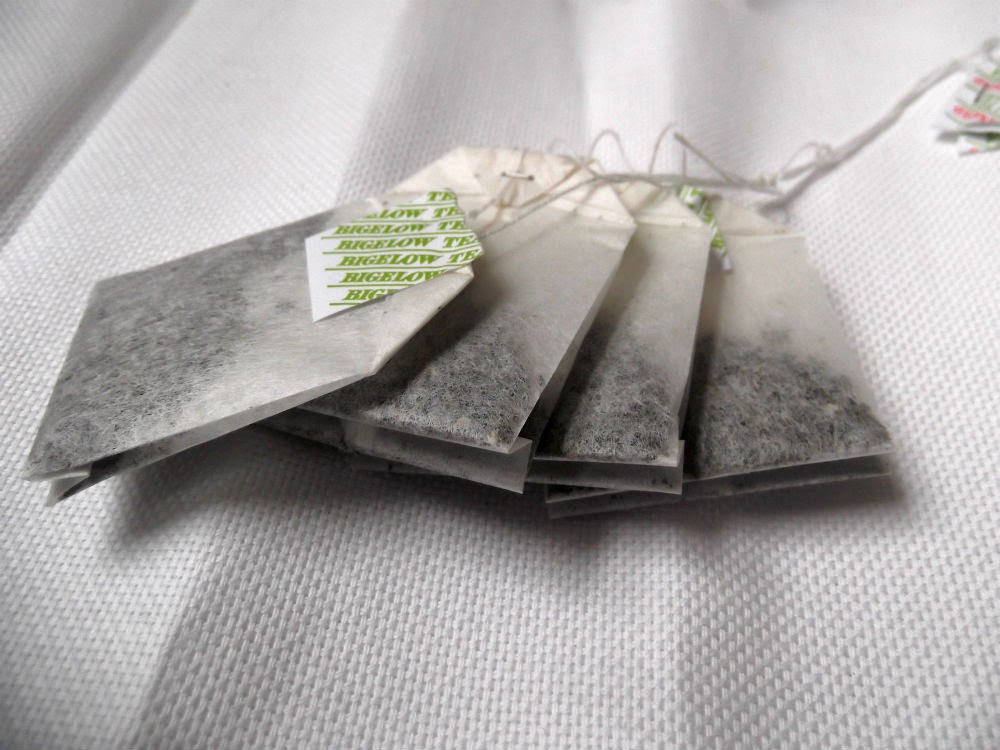
    That is until I remembered it could be dyed.  It took me until today to think of dyeing it, duh!  So, I grabbed it and four Bigelow green tea bags--we've had these in the cupboard forever so I don't think anyone was going to drink them. If you want to make the tea stronger for a darker dye, just use another bag or two.


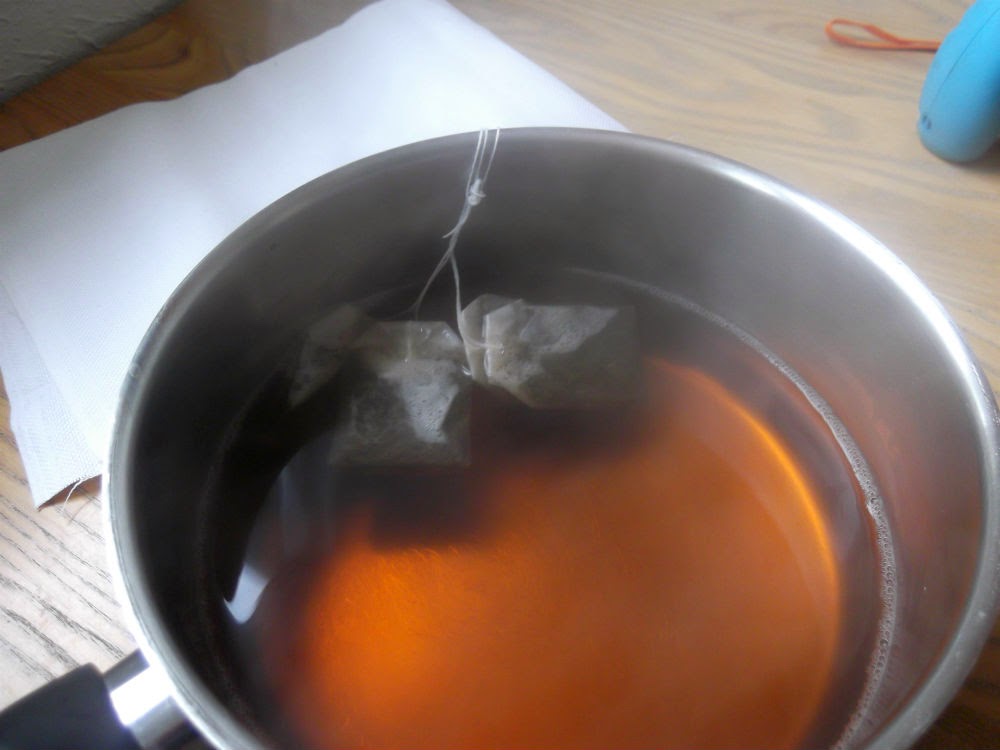
Just bring the tea to a boil then remove it from the heat.


    Immerse your fabric in the tea using tongs, or whatever implement is handy.  Remember to stir it around and turn the fabric over a few times during soaking for even dyeing.  Leave it in the tea until you are happy with the color of the fabric, but keep in mind that it will lighten a couple shades when it dries.


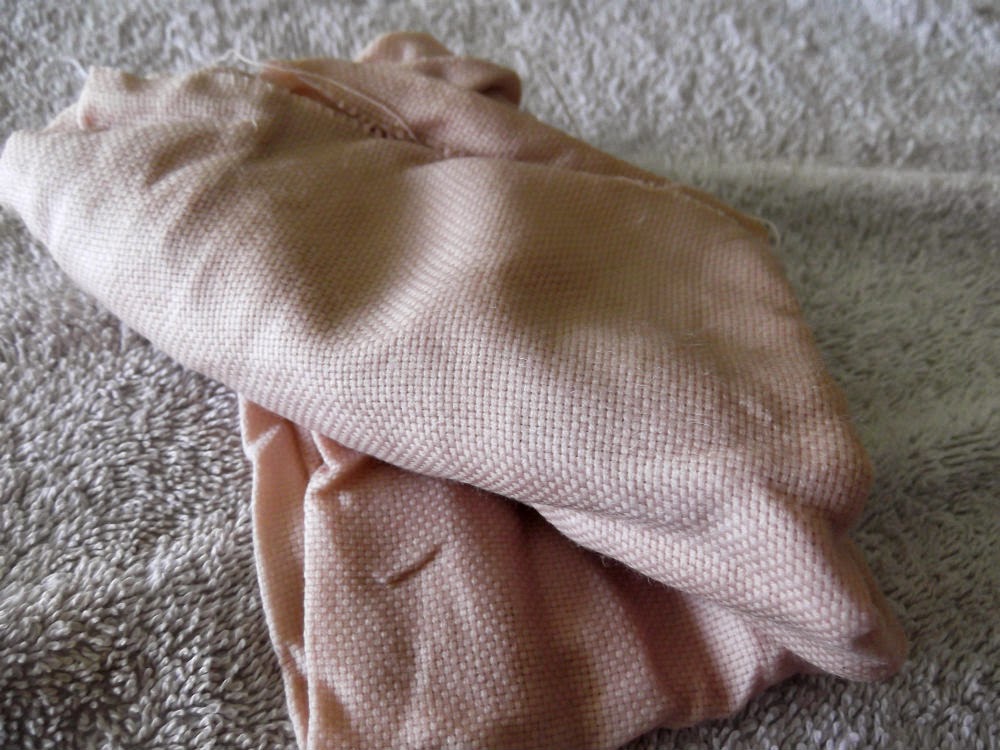
    Keep your tea until you've washed the fabric to make sure your Aida is dark enough.  Fill your sink with a few inches of warm water, you just need enough to fully submerge your fabric, and add a little laundry soap. Carefully, remove your fabric from the tea, mine was cool enough to gently wring it out before I put it in the soapy water.  Work all the tea out of the fabric, rinsing a few times to get it all out.  If it isn't yet the shade you would like, soak it in the tea a bit longer.  Finish my rinsing the soap out of the fabric and wringing lightly.


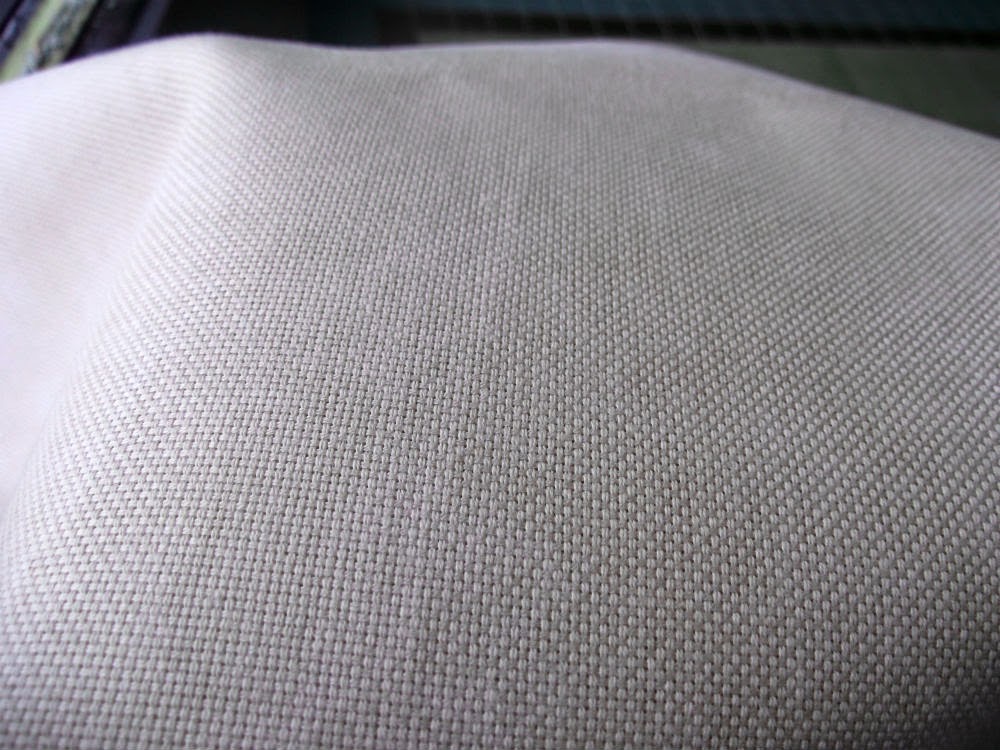
    At this point you have a few options you can lie your Aida flat on a towel to dry, put it in the dryer on the "fluff" setting, or use your iron, set on low, to dry it.  I iron dried it because I was feeling particularly impatient, and it helped get most of the wrinkles smoothed out. 


    I was having a really hard time getting the peachy color to show up in the photos.  The final color is most like the photo of the wet cloth with some faint marbling.  

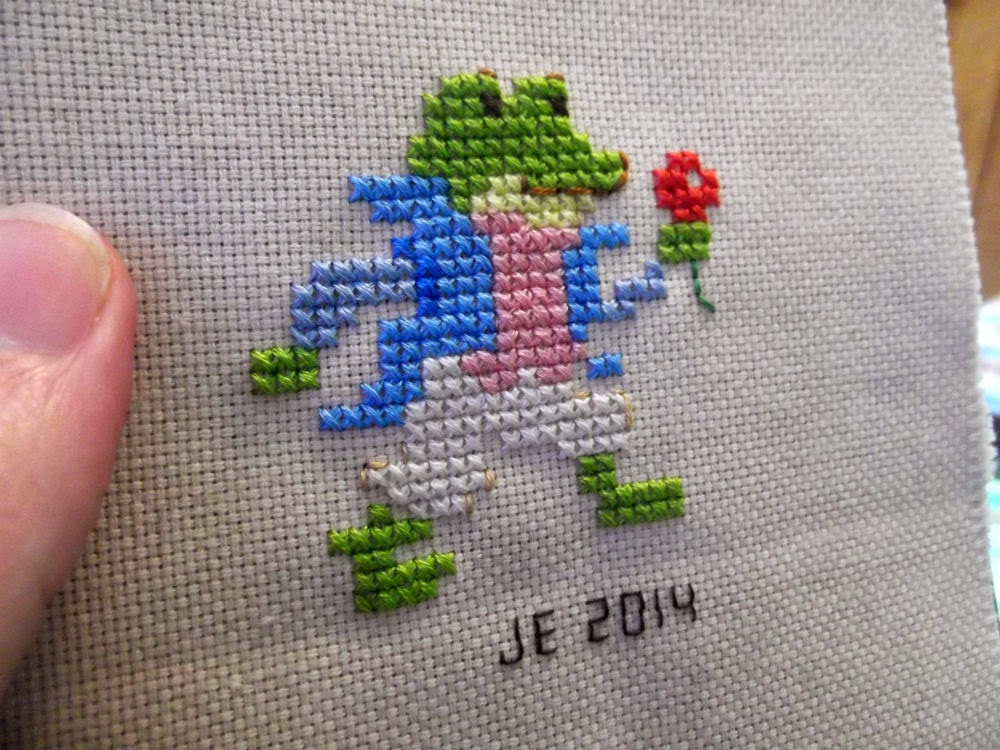
    I have a few small projects in mind for this fabric all ready, can't wait to get started.  I would like to try some other methods of coloring fabric still, so maybe in the future there will be some other cloth-related tutorials.

Happy stitching!


Monday, April 7, 2014

Freebies!

I have a couple of cute freebies for your stitching enjoyment!  The first two cross stitch freebies that I'll be listing here.  Excitement, right?

First up I have these teeny tiny animals:

available here

Just to give you an idea of what could be done with these little guys, here is the chart I just designed for my mother-in-law's Christmas present (got to get a jump on that right?):


I just wedged them in there any old where and added some flowers, hearts, leaves, and randomness to make it more circular.  I may still tweak it a bit before I start stitching it, though.  

Also, I have this adorable, if last-minute, Easter chart that is part of a larger calendar pattern I'm currently working on:

available here

Hopefully you enjoy stitching these as much as I enjoyed creating them.  Please let me know if there are any problems with the links.  To see more of my charts, you can visit my DeviantArt gallery.  Until I find somewhere else to list my charts for sale, that is the only place they are on display.  

Ideas?  Suggestions?  Feel free to contact me.  And, as always, happy stitching!